Rainwater harvesting is an eco-friendly and cost-effective method to conserve water, especially in areas facing water scarcity. By collecting and storing rainwater, you can reduce your dependence on municipal water supply, lower your water bills, and contribute to environmental sustainability. Here’s a step-by-step guide on how to start rainwater harvesting at home with minimal cost.
Benefits of Rainwater Harvesting
- Reduces Water Bills: Collecting rainwater for household uses can significantly cut down your water expenses.
- Eco-Friendly: Helps in conserving water, a crucial natural resource.
- Reduces Flooding and Erosion: By capturing rainwater, you reduce the risk of floods and soil erosion.
- Improves Plant Growth: Rainwater is free from chemicals, making it ideal for gardening.
Step-by-Step Guide to Rainwater Harvesting
1. Assess Your Water Needs
Before starting, determine your water requirements. Identify the primary uses for harvested rainwater, such as gardening, toilet flushing, and laundry. This will help you decide the size of your rainwater harvesting system.
2. Choose a Collection Area
The roof of your house is the most common collection area. Ensure your roof is clean and made from non-toxic materials. The larger the surface area, the more water you can collect.
3. Install Gutters and Downspouts
Materials Needed:
- PVC gutters and downspouts
- Brackets and screws
- Gutter guards
Instructions:
- Install gutters along the edges of your roof to channel rainwater.
- Attach downspouts to direct water from the gutters to your storage tank.
- Use gutter guards to prevent leaves and debris from clogging the system.
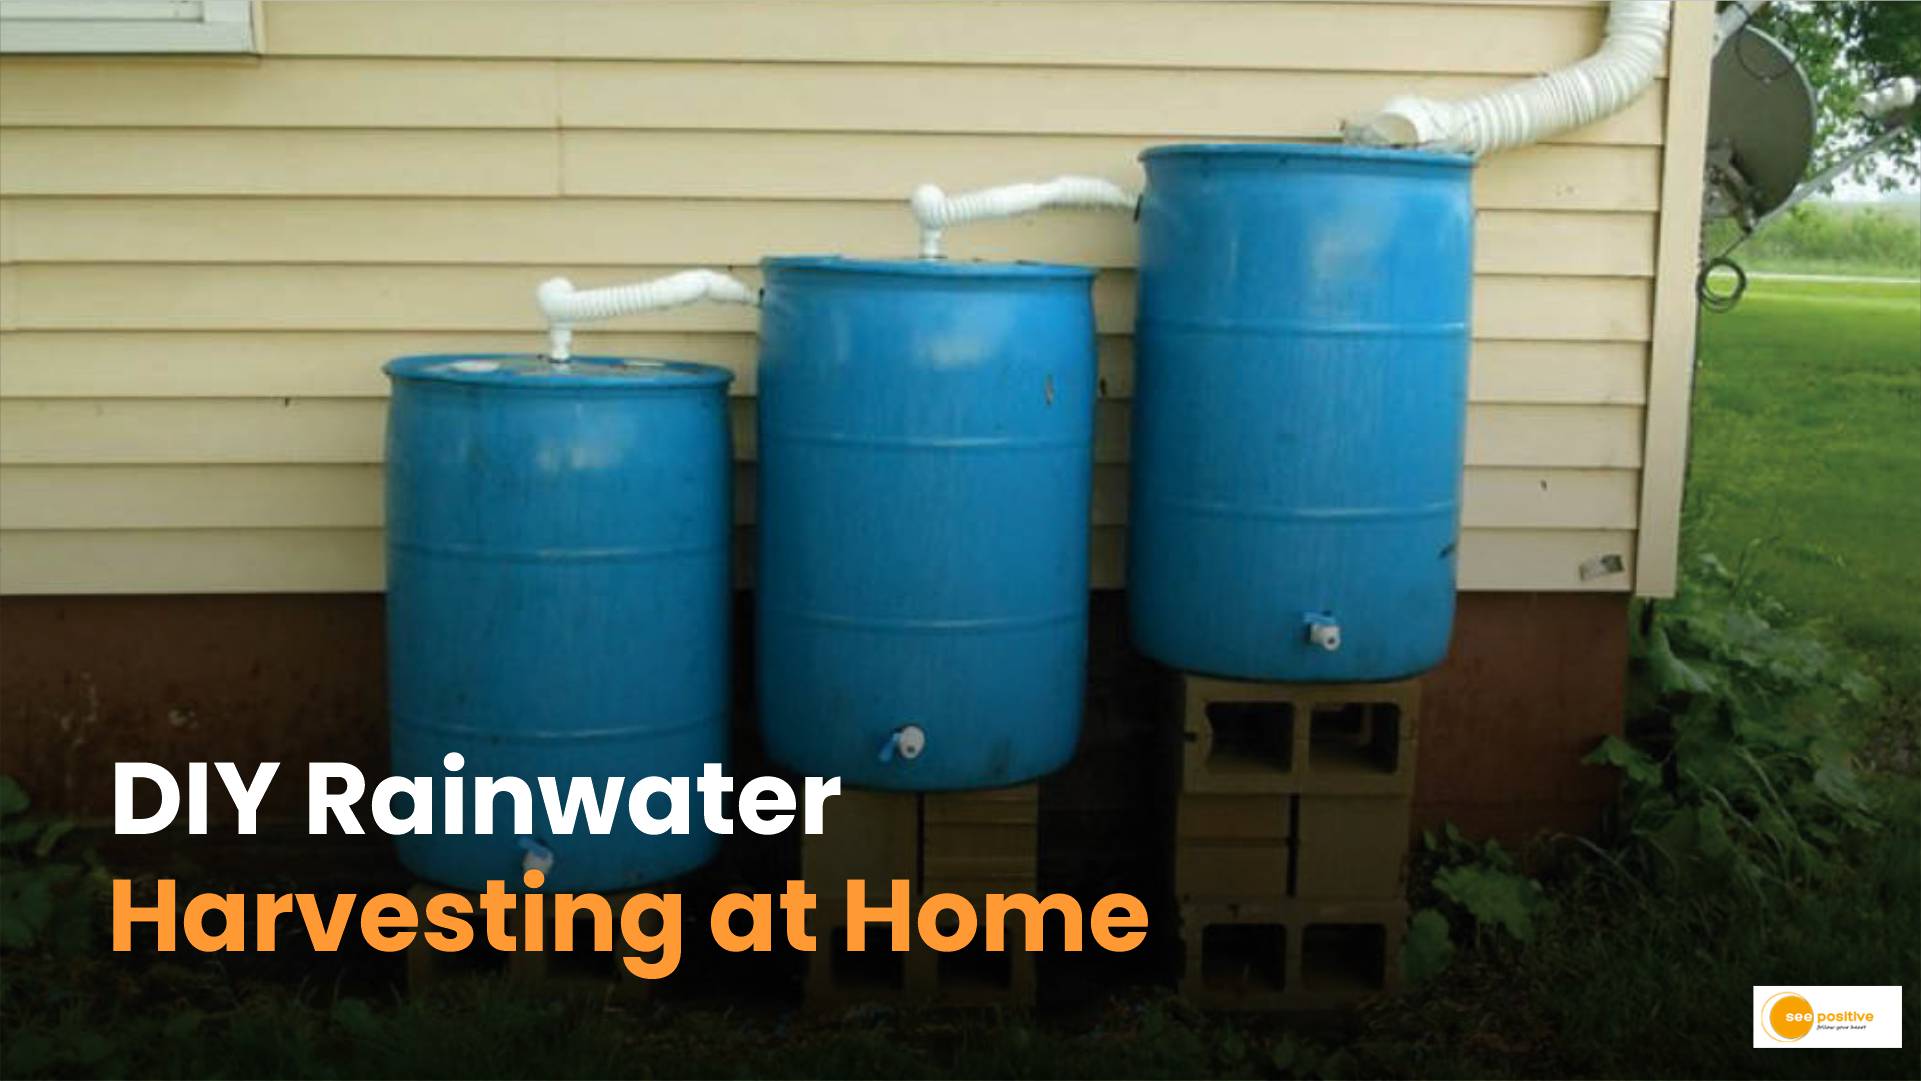
4. Set Up a Storage Tank
Options:
- Plastic Barrels: Affordable and easy to install.
- IBC Totes: Larger capacity for more extensive water needs.
- DIY Tanks: Use materials like ferrocement for a cost-effective solution.
Placement:
- Place your storage tank close to the downspout to minimize piping.
- Ensure the tank is elevated for gravity-fed water distribution.
5. Install a First-Flush Diverter
A first-flush diverter is essential to ensure clean water. It diverts the initial runoff, which carries most of the debris and contaminants, away from your storage tank.
DIY First-Flush Diverter:
- Use a T-joint and a small pipe to create a diverter that directs the first flush of water away from the main system.
6. Add a Filter
Install a simple filter to remove any remaining debris before the water enters your storage tank. Use materials like fine mesh or a screen to make a basic filter.
7. Connect an Overflow System
Ensure your storage tank has an overflow pipe to handle excess water. Direct the overflow to a garden or a soakaway pit to prevent waterlogging around the tank.
8. Distribution System
For distributing the harvested rainwater, use a gravity-fed system or a small pump for convenience. Connect hoses or pipes to the tank outlet and direct them to where you need the water.
Maintenance Tips
- Regular Cleaning: Clean your gutters, downspouts, and storage tank regularly to prevent blockages.
- Inspect for Leaks: Check for and fix any leaks in the system to ensure efficient water collection.
- Monitor Water Quality: Periodically test the water quality, especially if you use it for drinking or cooking purposes.
Conclusion
Starting a rainwater harvesting system at home doesn’t have to be expensive. With a few simple materials and a bit of effort, you can set up an effective system to collect and use rainwater. Not only will this help you save on water bills, but it will also contribute to a more sustainable environment. Embrace rainwater harvesting and make a positive impact on your home and the planet.
