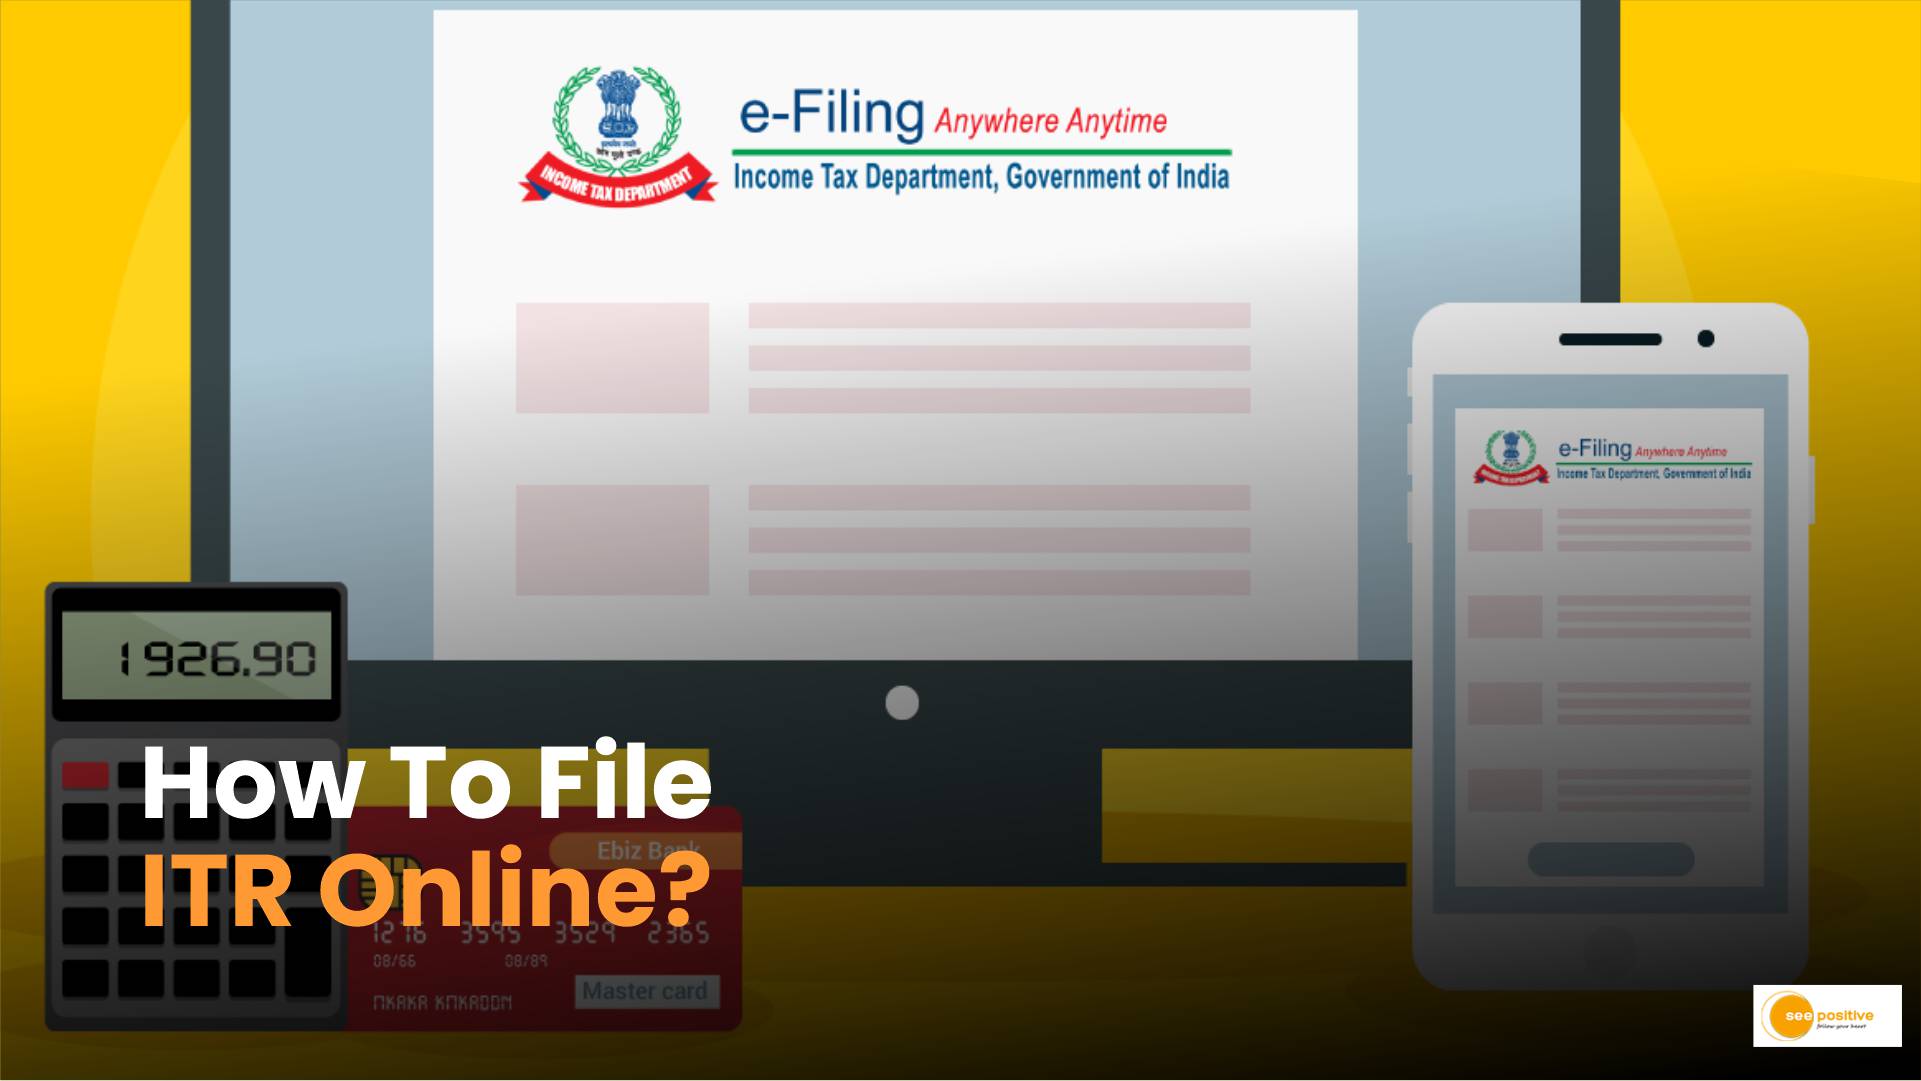
ITR Filing: As the deadline for filing income tax returns (ITR) for the financial year 2023-24 approaches, taxpayers are urged to start the process early to avoid last-minute stress. The process has been simplified and is now fully accessible online through the Income Tax portal. To make your ITR filing experience smooth and hassle-free, follow this detailed step-by-step guide.
Essential Documents for ITR Filing
Before you begin filing your ITR online, gather the following documents to streamline the process:
- PAN Card
- Aadhaar Card
- Bank Statements
- Form 16 (issued by your employer)
- Donation Receipts
- Stock Trading Statements from your broker
- Insurance Policy Payment Receipts (Life and Health)
- Bank Account Information linked to PAN
- Aadhaar Registered Mobile Number (for e-verification)
- Interest Certificates from Banks
Step-by-Step Guide to Filing ITR Online
Step 1: Log In to the Income Tax Portal
- Visit the official Income Tax e-filing website.
- Click on ‘Login’.
- Enter your PAN as the User ID and click ‘Continue’.
- Check the security message box.
- Enter your password and click ‘Continue’.
Step 2: Start Filing Your Income Tax Return
- Click on the ‘e-File’ tab.
- Select ‘Income Tax Returns’.
- Choose ‘File Income Tax Return’.
Step 3: Choose the Appropriate Assessment Year
- Select ‘Assessment Year’ as ‘AY 2024-25’ for FY 2023-24 filings or ‘AY 2023-24’ for FY 2022-23 filings.
- Opt for the ‘Online’ mode of filing.
- Specify whether it is an original return or a revised return.
Step 4: Select Your Filing Status
- Choose your filing status from the provided options: Individual, HUF (Hindu Undivided Family), or Others.
- For individuals, select ‘Individual’ and click ‘Continue’.
Step 5: Choose the Correct ITR Form
- Select the appropriate ITR form based on your income sources and financial situation.
- For example, ITR 2 is suitable for individuals and HUFs with capital gains but no income from business or profession.
- Ensure to select the form that accurately represents your tax situation.
Step 6: Specify the Reason for Filing ITR
- Choose the reason for filing your returns, such as having taxable income exceeding the basic exemption limit or meeting specific criteria mandating ITR filing.
- You can also select ‘Others’ if your reason doesn’t fall under the specified categories.
Step 7: Validate Your Information
- Validate pre-filled information such as PAN, Aadhaar, name, date of birth, contact information, and bank details.
- Provide your bank account information and ensure it is pre-validated if already provided.
- Disclose all relevant income, exemptions, and deductions step by step.
- Review pre-filled information from sources like your employer and bank to ensure accuracy.
- Confirm the summary of your returns, validate the details, and make any necessary payment of balance taxes.
Step 8: E-Verification of Your ITR
- The final step involves verifying your ITR within 30 days of filing.
- Verification methods include:
- Aadhaar OTP
- Electronic Verification Code (EVC)
- Net Banking
- Sending a physical copy of ITR-V to CPC, Bengaluru
- Note that failing to verify your ITR will nullify the filing process.
Also Read: ITR Filing in India 2024: Benefits, Deadlines and Essential Guide
Conclusion
Filing your income tax return online is now a straightforward process, thanks to the comprehensive online portal provided by the Income Tax Department. By following this step-by-step guide and ensuring you have all necessary documents ready, you can file your ITR smoothly and avoid the last-minute rush. Start the process early and stay compliant with tax regulations, ensuring peace of mind as the deadline approaches.
